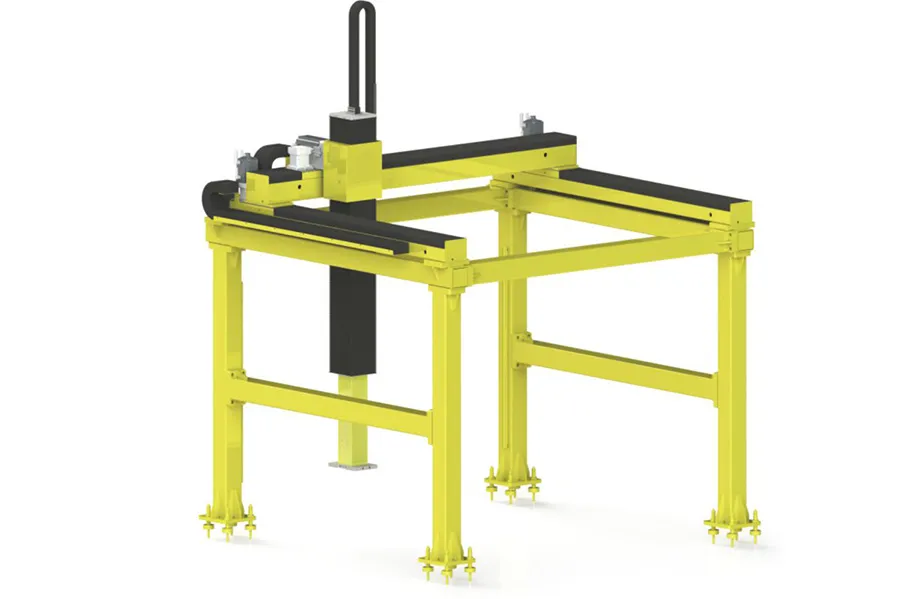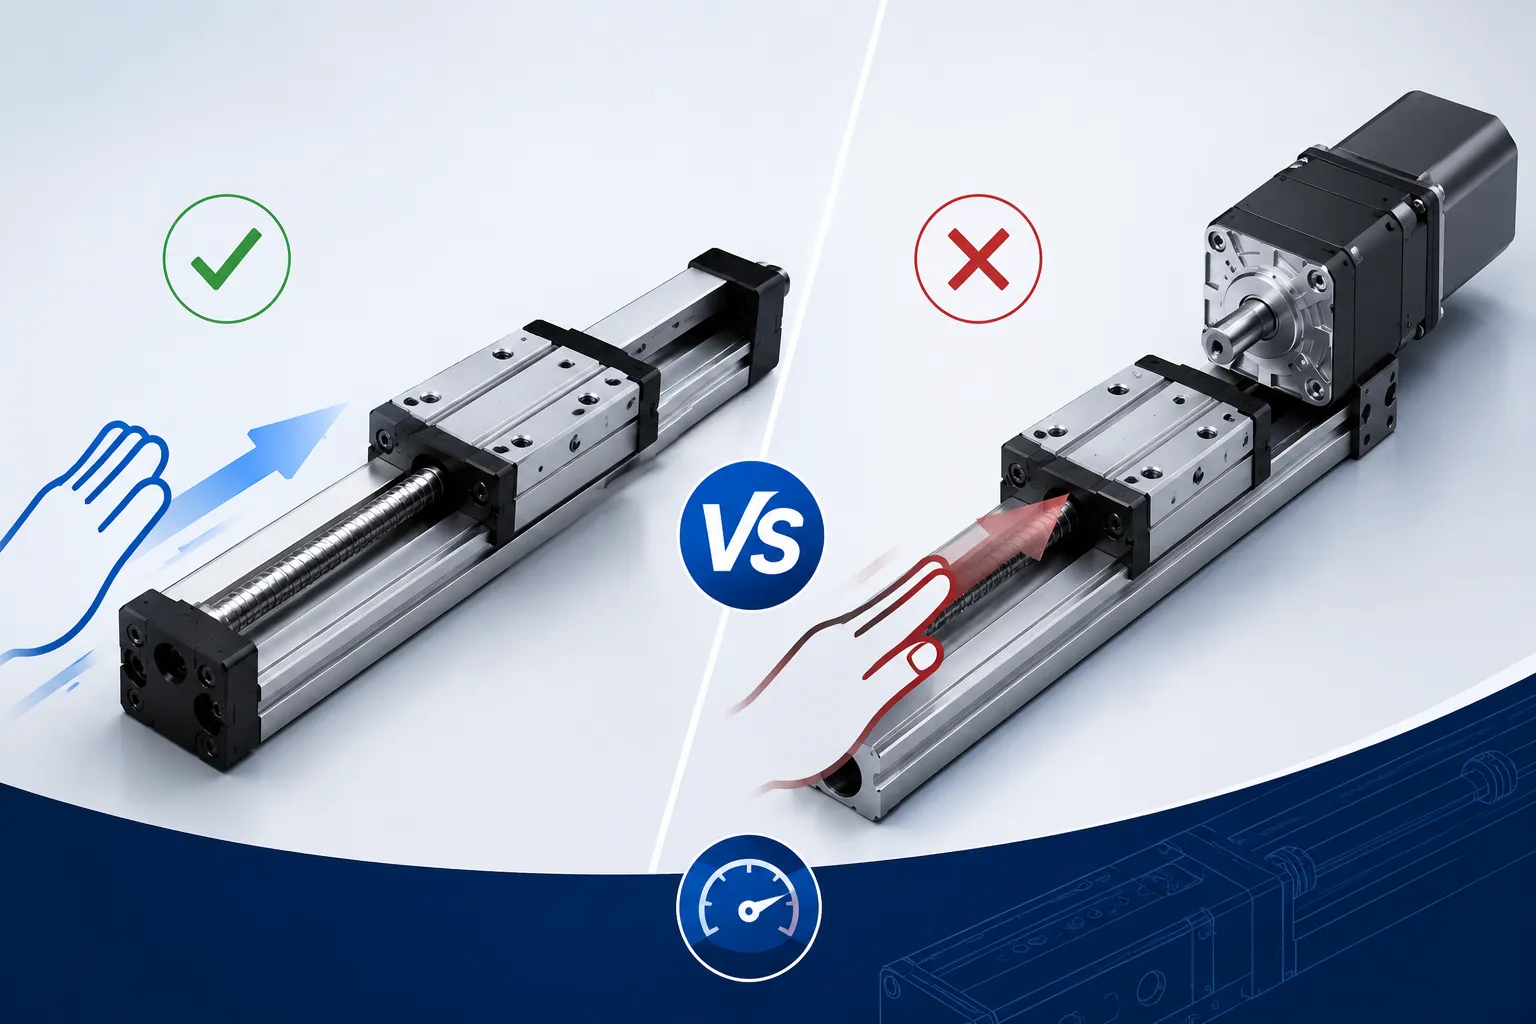
Linear guide rails are a critical component in CNC machines, automation systems, and precision machinery. When installing two parallel linear guide rails, proper alignment is essential to guarantee smooth motion of the blocks and prevent binding, uneven wear, or reduced accuracy. This guide summarizes best practices, step-by-step instructions, and installation tips to achieve optimal performance.
1. Preparation Before Installation
Before mounting the rails:
- Clean the base surface: Remove oil, dust, burrs, or debris that may affect flatness.
- Verify flatness: Use precision measurement tools to ensure the mounting surface is within tolerance.
- Check rail and block: Ensure the rails and blocks are free of damage or dirt. Pre-lubricate if recommended.
2. Installing the Rails
Step 1: Initial Placement
- Place both rails loosely on the mounting surface.
- Insert all screws without tightening fully.
- Position the rails roughly parallel, keeping enough space to adjust alignment.
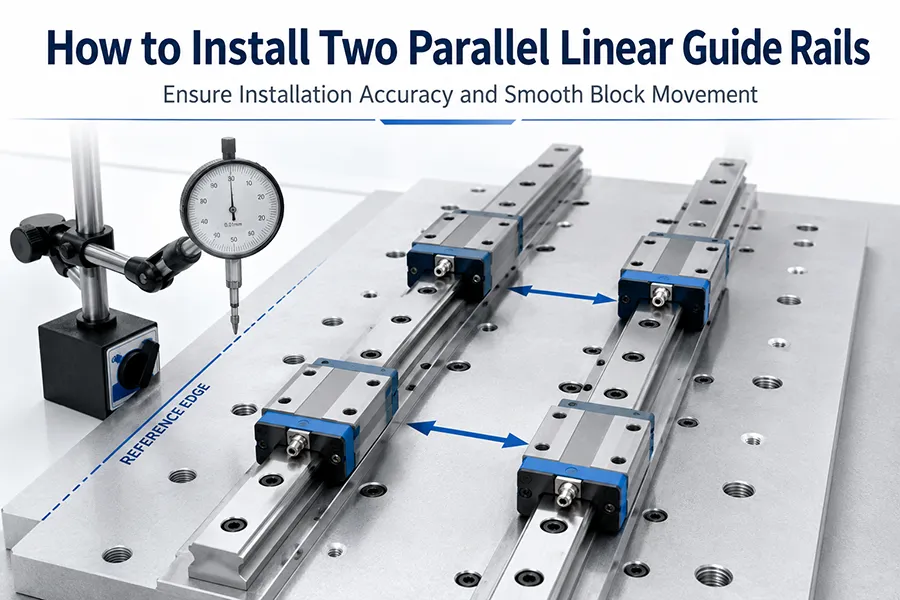
Step 2: Parallelism Check
- Use a dial indicator or feeler gauge to check the distance between rails at multiple points.
- Ensure rails are parallel along the full length; adjust slightly if necessary.
Step 3: Angular Alignment
- Verify that rails are not tilted (roll, pitch, yaw).
- The rails must remain level to allow smooth sliding.
Step 4: Gradual Tightening
- Tighten screws gradually and in a sequence that avoids bending the rails.
- Recheck parallelism after partial tightening.
- Use the manufacturer’s recommended torque for screws.
3. Block Installation
- Slide blocks onto rails carefully to avoid scratching.
- Verify smooth motion along the entire travel path.
- Adjust preload settings according to manufacturer specifications. Preload balances stiffness and smooth sliding.
4. Ensuring Smooth Motion
- Test each block separately and then with both blocks installed.
- Ensure blocks move in unison without skewing.
- Confirm that there is no binding, wobbling, or resistance.
Tip: If there is friction at the start or end of the rails, recheck alignment and parallelism.
5. Long Rail Considerations
For longer rails:
- Allow for thermal expansion when aligning and tightening.
- Verify flatness at multiple points along the length.
- Use temporary fixtures if necessary to maintain consistent spacing during tightening.
6. Maintenance Tips
- Keep rails and blocks clean and lubricated.
- Inspect periodically for wear, debris, or misalignment.
- Adjust preload or retighten screws if necessary.
- Replace worn blocks or damaged rails promptly to prevent system degradation.
7. Common Mistakes to Avoid
- Installing rails on a warped or uneven surface.
- Tightening screws in a single sequence without checking alignment.
- Ignoring angular misalignment.
- Installing blocks before confirming parallelism.
- Using improper tools or torque values.
Following these precautions ensures high precision, long service life, and smooth operation of the linear motion system.
Conclusion
Installing two parallel linear guide rails requires careful preparation, accurate alignment, and gradual screw tightening. By following these steps:
- Rails remain perfectly parallel.
- Blocks slide smoothly without binding.
- Precision and accuracy of the system are maintained.
- Maintenance and operational longevity are improved.
Proper installation is critical for CNC machines, automation equipment, and any system that relies on precise linear motion.